
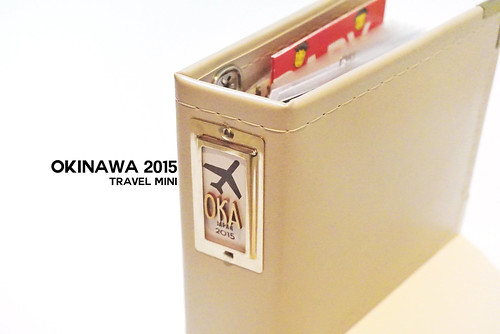
Okinawa 2015 – Travel Mini
December 24, 2015
Ever since I got my first 4×4 Instagram Album, I’ve been wanting to document a trip. And my trip to Okinawa was the perfect trip to document.
I managed to fit a total of 43 pages into my album and all the pages can be viewed here at my SC gallery and Flickr Album. For my post, I will only be focusing on some of the details of little things that I put in my album, like close-ups of my memorabilia and journaling.
A few note on the supplies that I use for this mini:
- Album – I bought the beige We R Memory Keepers – 4×4 Album as well as extra protectors.
- Printer – I print my photos with the Canon Pixma Pro-100 using regular photo paper.
- Journal cards, embellishments – I used a lot of leftovers from my Studio Calico PL kits.
I started off with a map of Okinawa, documenting the places that I visited (in black) and other places that I didn’t visit (in grey).
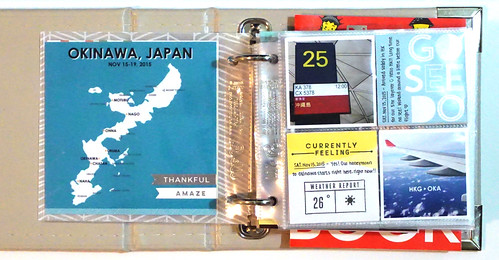
Starting on day 2, I started to make a little tab and stitched it on the side of the photo or tag to separate each day.
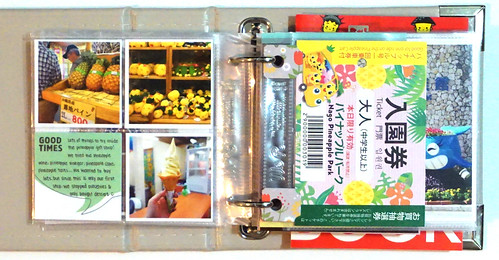
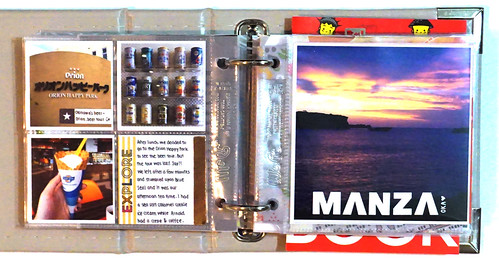
I love to incorporate a lot of memorabilia into my mini and I collected quite a bit of entrance tickets, little booklets and pamphlets during my trip. I included my ticket to the Nago Pineapple Farm, Churaumi Aquarium ticket, train ticket and a Baby Star book from Kokusai-dori into my mini.
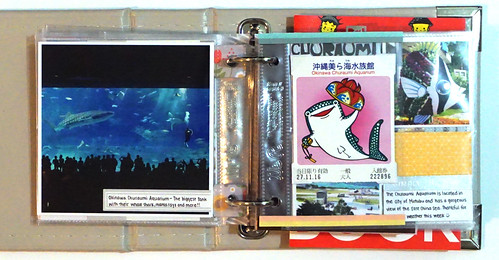
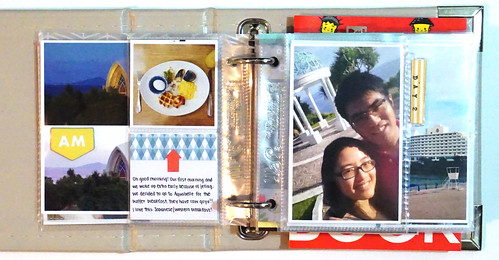
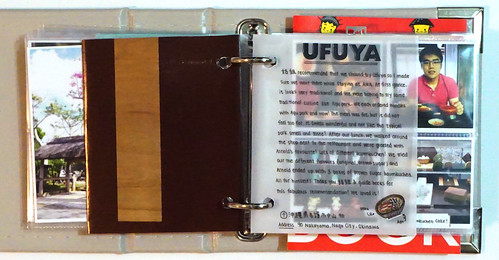
I also loved writing on vellum paper so for longer stories, I wrote on a piece of vellum, hole-punched it and slipped it into the album. I also drew a simple picture of what I’m documenting and wrote the address of the place I visited at the bottom.
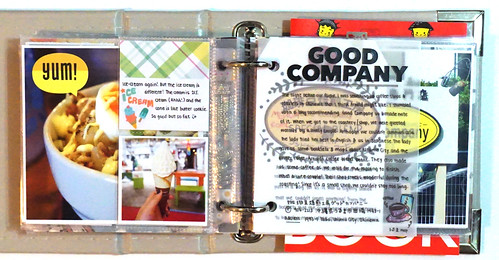
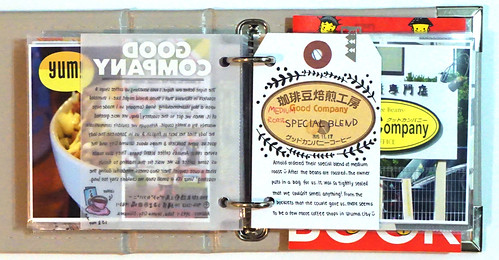
I also did some journaling on large tags. I carefully peeled off the label from the coffee bag and adhered it to a large tag with a short blurb at the bottom.
There were so many amazing views of the sea including this gorgeous sunset at our first hotel. What a view of Manza Cliff too.
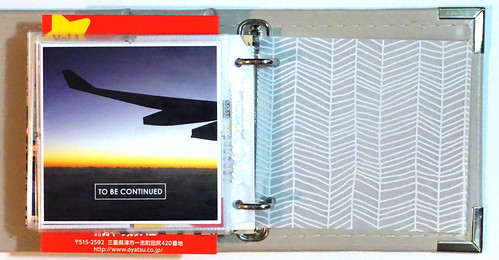
In the mini, I incorporated a lot of digital text into my photos prior to printing them out. I love being able to use any font for my text on the photos. Not to mention I don’t have to worry about using up all my vowels stickers! It was time to say good-bye to Okinawa, but we’re definitely going to be making another trip to this wonderful island.
Designer Series – Magic Moments
March 25, 2015
Hello everyone! I’m back with a project for Mama Elephant using the stamp set Magic Moment. This stamp set is perfect for card making, scrapbooking and project life documentation. I decided to use the fun sentiments to dress up my project life spread.
I stamped the “hello” banner on a piece of white cardstock and cut out the banner by hand.
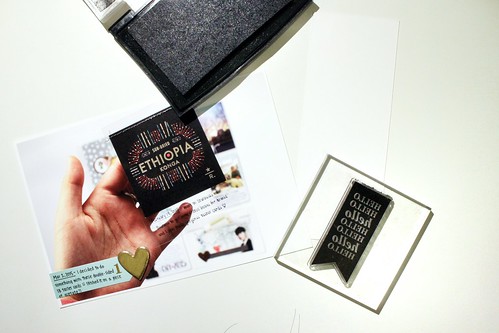
I stitched the banner in place on one of my photos. Hello gorgeous Starbucks taster card!
I used this “love this” stamp set and stamped it on another piece of white cardstock and cut it out by hand. I thought this sentiment was perfect for these beautiful Starbucks cards that I received in the mail!
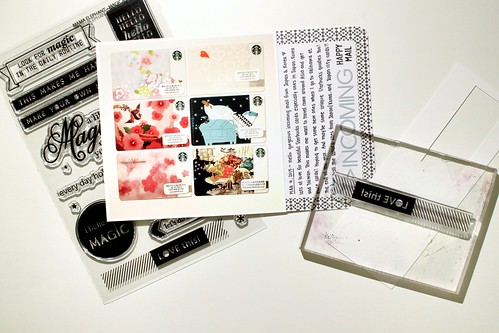
I also used the banner for the pretty sleeve from Starbucks 🙂 I love that sentiment of finding magic in our daily lives.
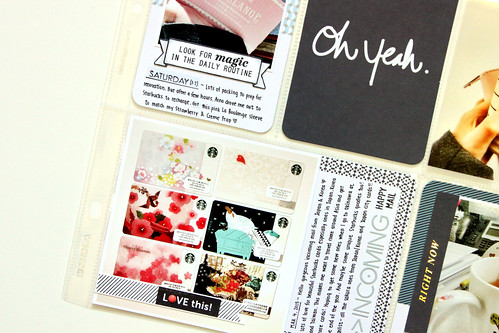
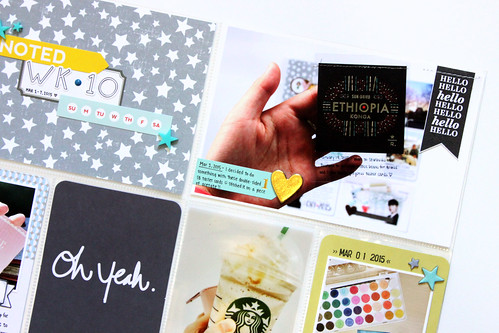
Here’s my complete spread with the magical sentiments from Mama Elephant to document my week using Project Life.

Thanks for looking!
Designer Series – Freestyle Florals/Zenith Borders
March 6, 2015
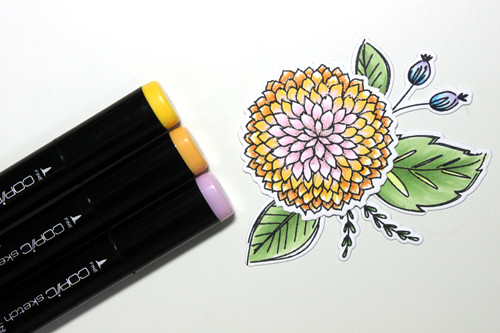
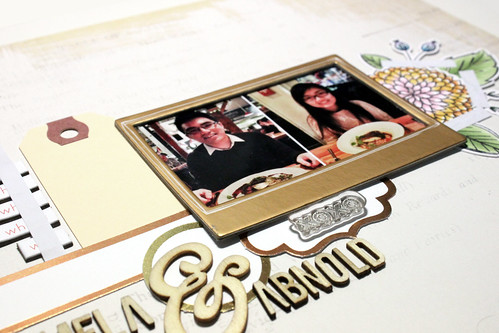
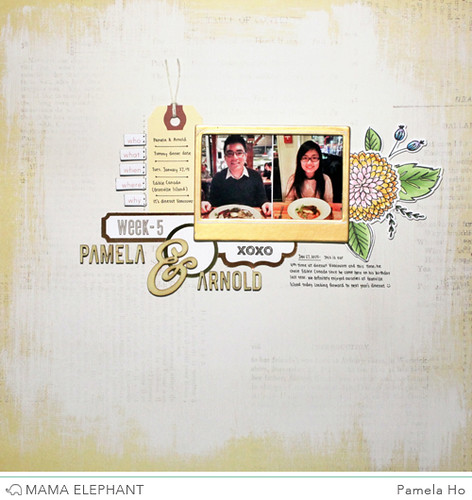
Hello everyone! I’m on the Mama Elephant blog today with a layout using Freestyle Florals as my main embellishment along with some subtle patterns created using Zenith Borders.
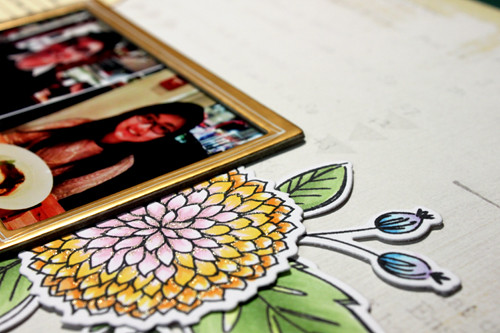
I first cut out my flowers and coloured them with my copic markers. I wanted to do a blend of two colours so I coloured the inside pink and gradually blended it with yellow.
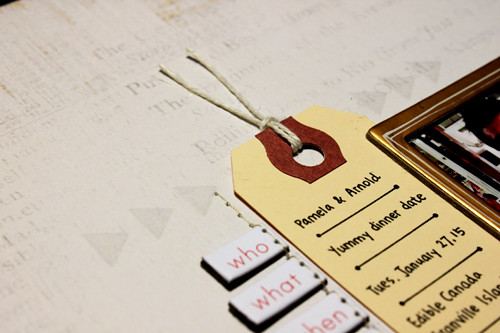
When I put my layout together, I like to approximate the position of each element and try to tape things down with masking tape to secure them.
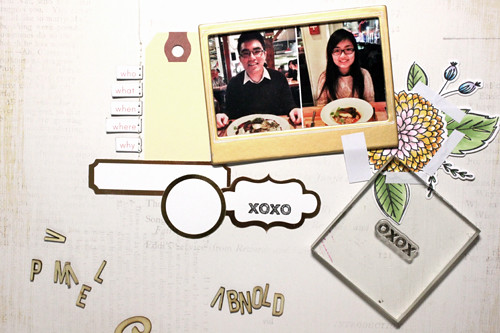
I have the flowers tucked behind a frame and I’m planning to stamp the “xoxo” from Surprise Sentiments in one of the labels.
After adhering everything in place and finished up the journaling, I stamped some subtle triangles from Zenith Borders to frame the layout. I stamped them in Versamark for some very subtle pattern.
I applied some sparkles to the petals of the gorgeous florals.
And here is the complete layout!
Thanks for stopping by!
February with Citrus Twist
February 13, 2015
Good morning! I’ve got some project life and scrapbook layouts to share this morning. It’s been a long time since I last posted!
I’ve made some thought on my project life pages this year and I will be recording my stories in a mixture of pocket life and scrapbook pages. The scrapbook page is usually an “addition” to one of the photos during that week.
So here is my full spread for week 6.
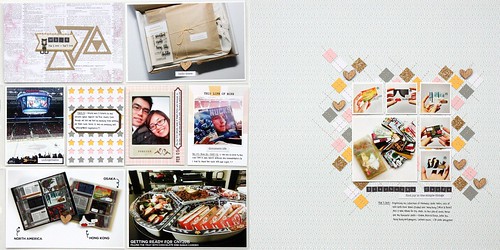
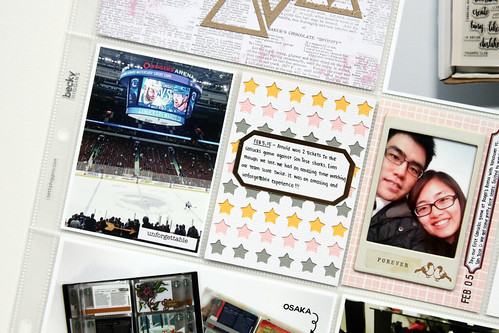
Here is my traditional pocket life page on the left side. Since I don’t take enough photos during the week, 1 page was good enough for me.
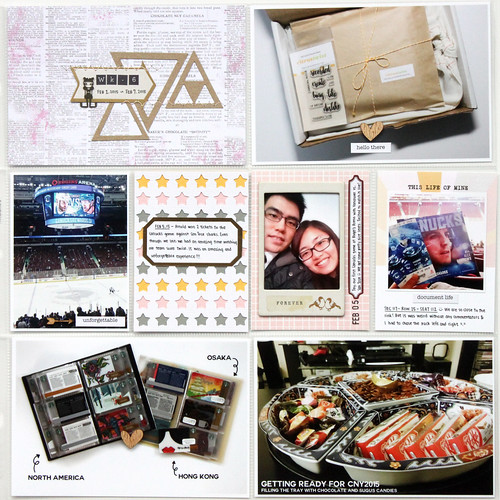
I layered the colour cardstock underneath a star die cut background for a colourful background before adhering a gold label on top.
Here is the right side for a traditional scrapbook page. I expanded on my “starbucks collection” story and took a few shots of my favourite cards.
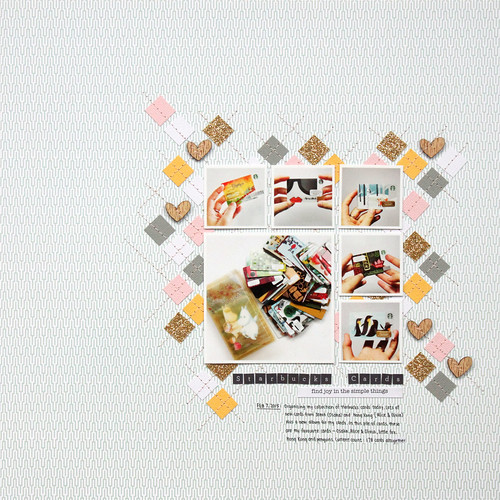
I began by cutting up the coloured cardstock in tiny squares. The gold squares? I cut down the gold heart stickers from the PL main kit 🙂 I laid them out on a piece of 12×12 paper and stitched them in place.

Here is a close up of the stitching, the photos and the journaling. The word snippet stickers were just perfect for this!

Thanks for looking!
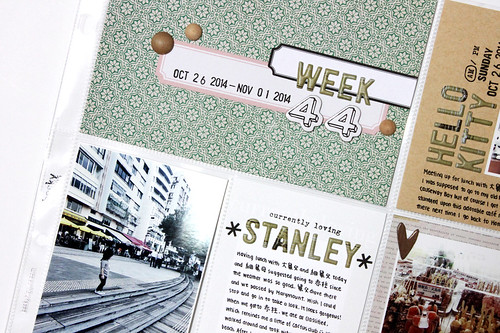
Week 44 and a Layout!
December 5, 2014
Good morning everyone! It’s December kit reveal for Citrus Twist Kits and I’m excited to share my PL pages and my first scrapbook layout with the kits! Since CTK has a December Daily kit for sale, December’s kit is not Christmas themed, but you could add the All Trimmings PL add-on for some Christmas touches to your pages.
Since the main kit is not Christmas-themed, it was perfect for my catch-up pages back in October. I love the soft neutral colours of the main kit and used it to finish off documenting my last week of my vacation in Hong Kong.
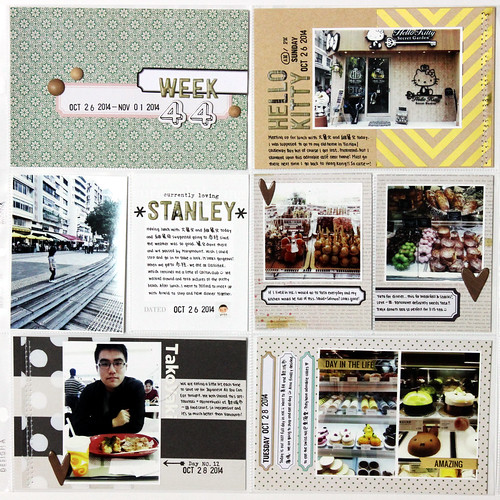
I love these puffy woodgrain alphabets from the main kit and it’s the perfect size for PL 🙂
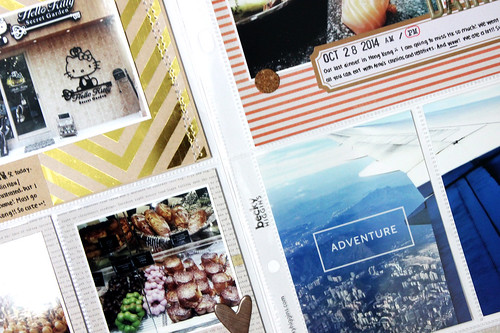
I used the arrows from the “Textured Life” stamp and stamped a little border for my photo.
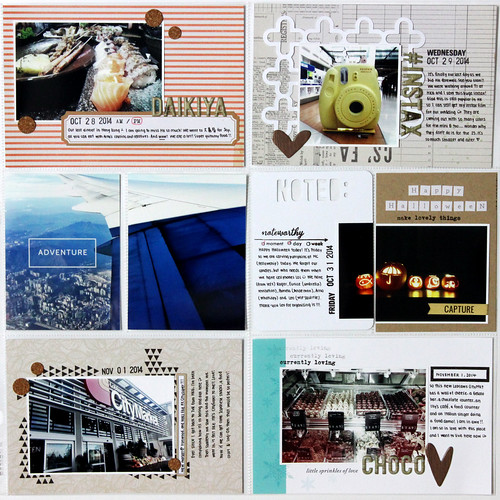
I love working with these white and gold transparency cards! I stitched the gold chevron card onto my pattern paper and adhered a photo on top. I also layered a white “adventure” transparency card over my photo so I don’t need to add some text to my photo before printing.
I had some embellishments left from the PL main and All Trimmings Add-on kit so I used them to create my first scrapbook layout. I started off with a white 12×12 canvas and planned the layout for where my photos and embellishments will go.
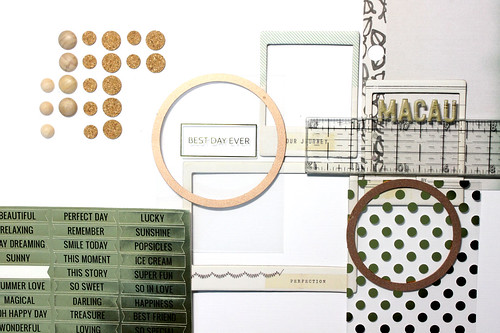
And here is the end result of my planning!

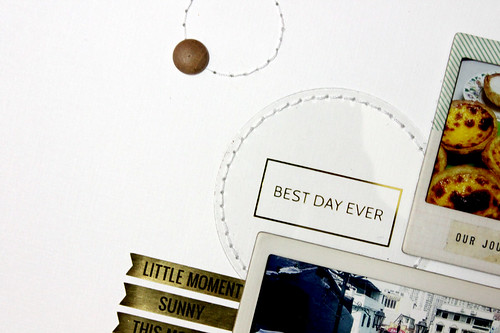
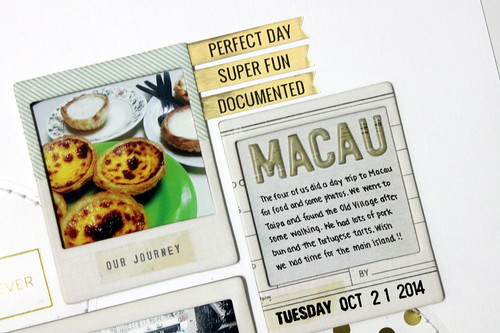
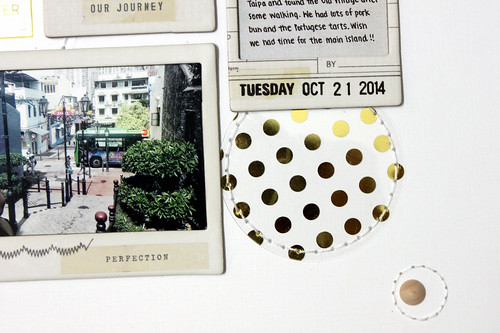
I cut out two circles from the gold transparency cards and stitched it to the card base. I adhered a list of gold flags from the All Trimmings add-on kit to describe the overall trip to Macau.
I used the chipboard frames from the main PL kit to frame two photos and a journaling blurb. The puffy alphas fit perfectly inside the frame for my title!
I also stitched a few more circles to fill up the empty spaces and adhered some wooden dots (main PL kit) to finish off my layout.
 Thanks for stopping by!


